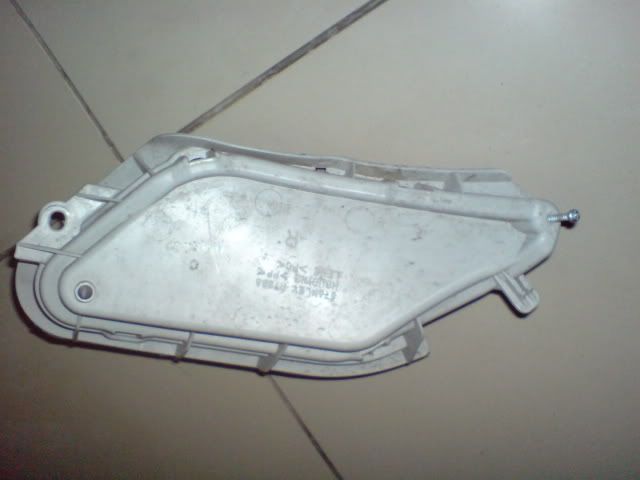
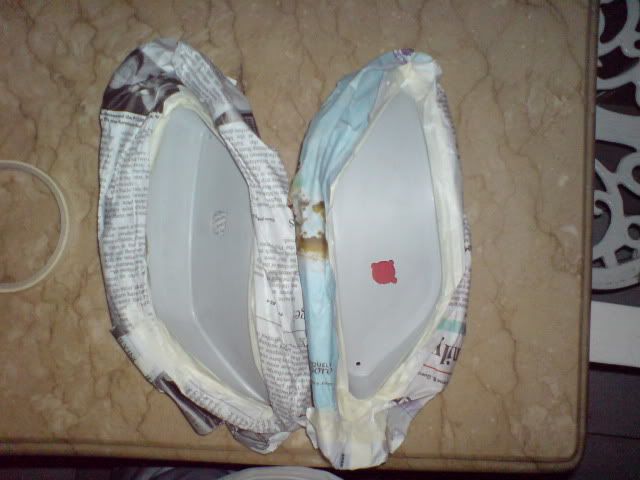
remove first the philips screw on the rear end of the OEM reflector
remove the red part gently. technique is lift the locks first using broad flat screwdriver. lift upper part first then slightly on the lower part then on the upper again to full opening. then pull by hand. you ma also use heat blowers or blow driers for easy removal.
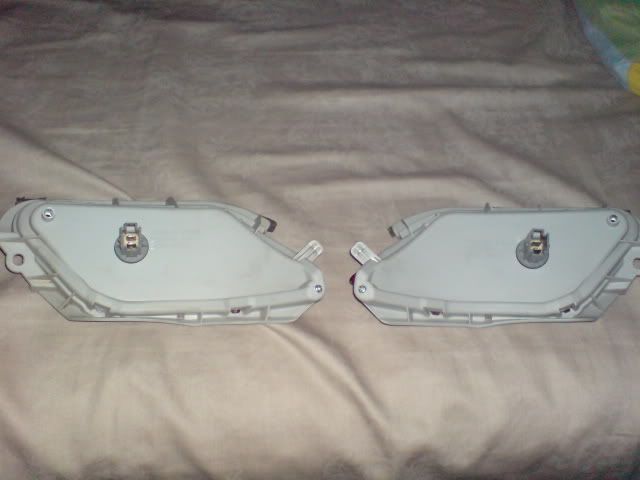
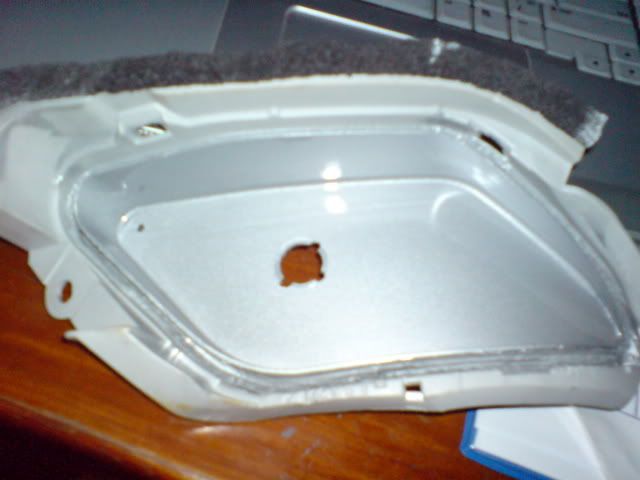
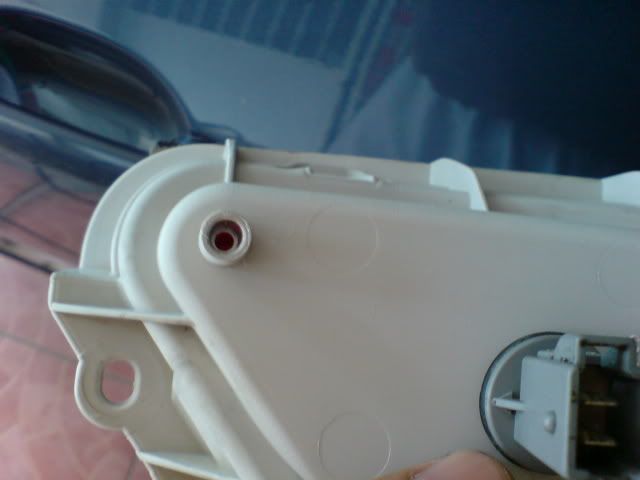
drill a hole corresponding to the socket to be used. in this case a wedge base bulb socket.(stanley) take note of the locks . the hole was done using a home drill plus refinements made with a micro motor handpiece. cutter may also be used depending on ones preference and technique. and remember that the bulb should be placed at the deepest part of the housing so it may not contact the lens.
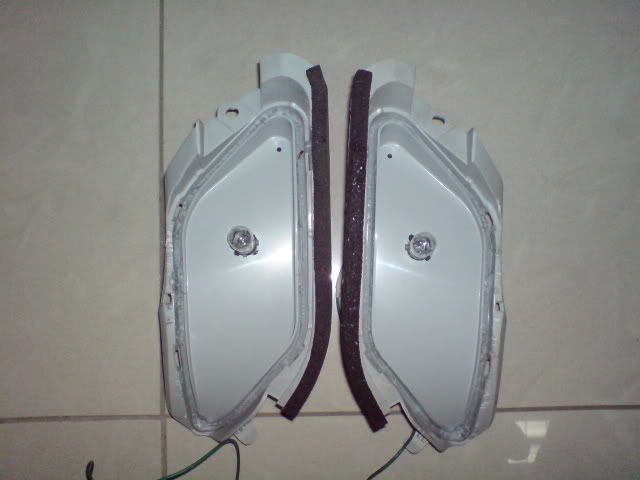
preparation for painting of reflector. in this case i decided to paint it with acrylic epoxy color light silver. stickers may also be used depending on your preference.
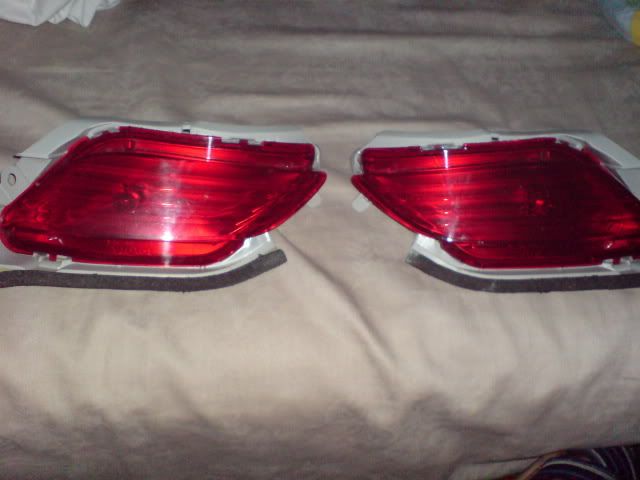
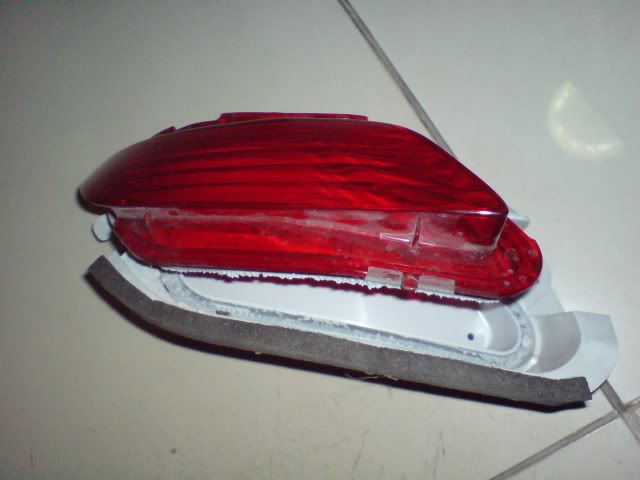
place the red lens again. make sure that the paint dried well enough.
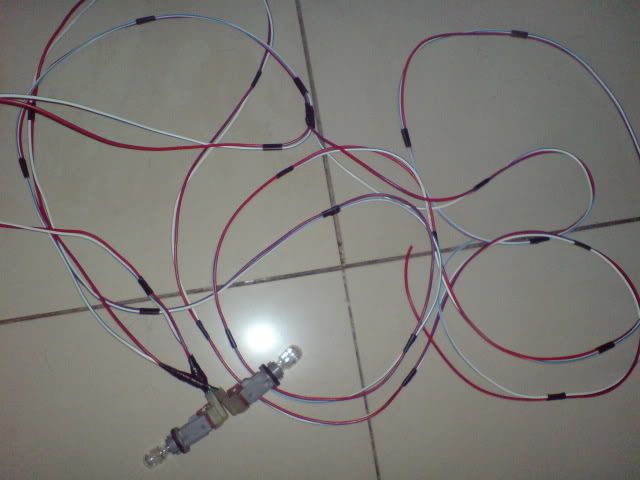

i made a 6 yards wiring harness with flexible insulator hose, dont know the size, i think its gauge 16 auto wire and the flexible is the smallest to fit thru holes. It runs alongside underneath our step sills. it fits perfectly with the clamps. the wires are inserted through a rubber plug in the rear, near the center or the rear bumper.
remove the rubber plug for heat exhaustion of bulb. soon to be tapped with a rubber hose to prevent seepage of water, dirt etc.
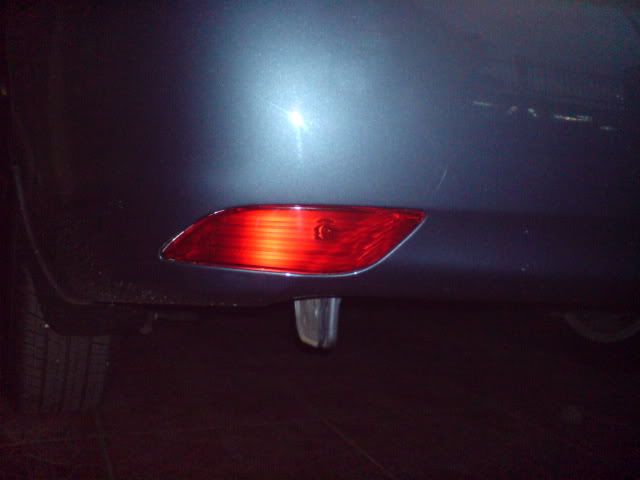
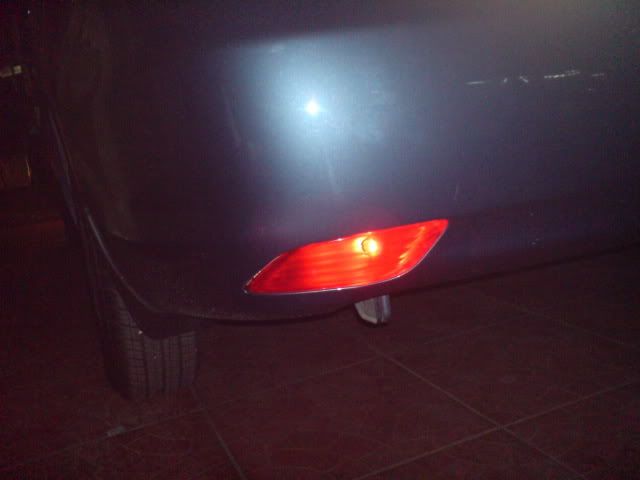
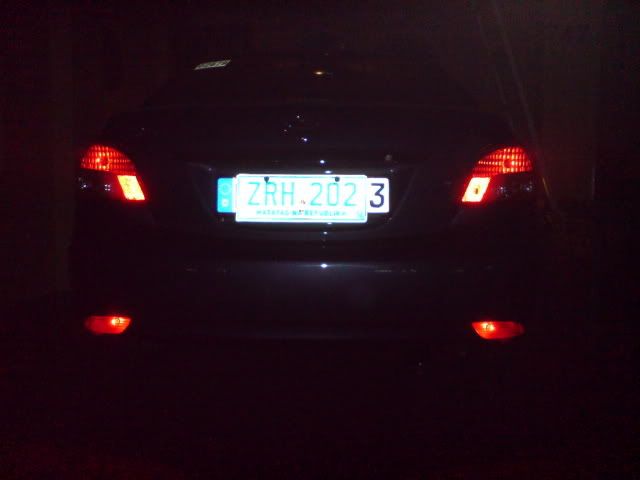
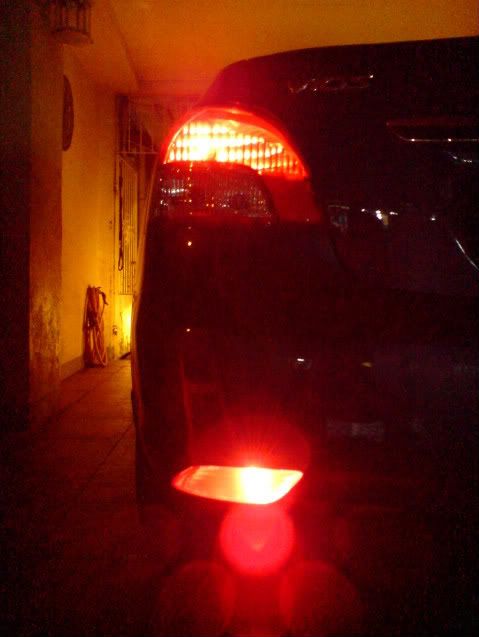
finished project using 21 watts wedge base bulb, terminals tapped with front fog lights for the meantime while waiting for the stalk assembly for front and rear fogs..will try led wedge bulbs soon for better illuminartion. light projection is more on the floor not on trailing motorists so i guess this may be good enough for me. any comments or suggestions will be gladly appreciated.
thanks for viewing.
0 comments:
Post a Comment